
How to use midjourney for beginners usually comes down to two things: getting comfortable inside Discord, and learning how to “talk” to the model with clear prompts.
If you tried Midjourney once and got random results, you’re not alone, most beginners do. The tool is powerful, but it rewards specificity and a simple workflow more than artistic talent.
This guide walks you through setup, your first images, prompt patterns that work, and the small settings that make outputs look more professional, without turning it into a giant theory lesson.
What Midjourney is (and what it is not)
Midjourney is an AI image generation tool that turns text prompts into images. You type what you want, it returns a grid of options, and you refine from there.
It’s not a one-click “make my exact idea” machine. Many outcomes depend on how you phrase the prompt, what level of detail you include, and which settings you choose.
According to OpenAI, generative models can produce outputs that reflect patterns in training data, which is why your wording and constraints matter when you want predictable style or composition.
- Great for: concept art, moodboards, marketing visuals, thumbnails, quick style exploration
- Not ideal for: perfect text in images, precise brand compliance without iteration, exact replicas of a specific photo
Set up Midjourney in Discord in 10 minutes
Midjourney runs through Discord, so the first “friction” is learning where to type commands and where images appear. Once that clicks, the rest feels straightforward.
Quick setup checklist
- Create a Discord account and verify email
- Join the official Midjourney Discord server
- Subscribe on Midjourney’s site (plan choice depends on how often you generate)
- In Discord, find a newbies channel or use a private server for less noise
Pro tip: Most beginners get overwhelmed in public channels because prompts fly by fast. A private server (with the Midjourney bot added) is calmer and easier to track.
Your first image: the only command you really need
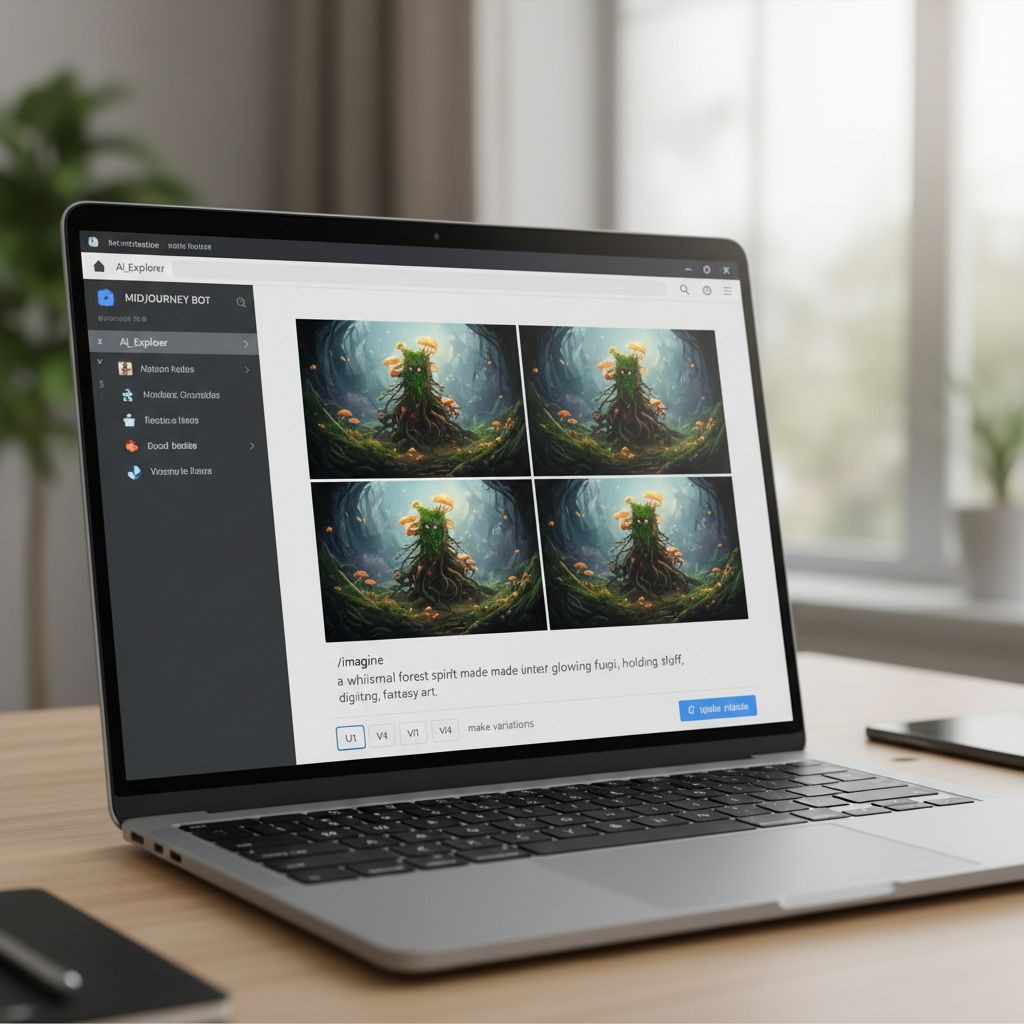
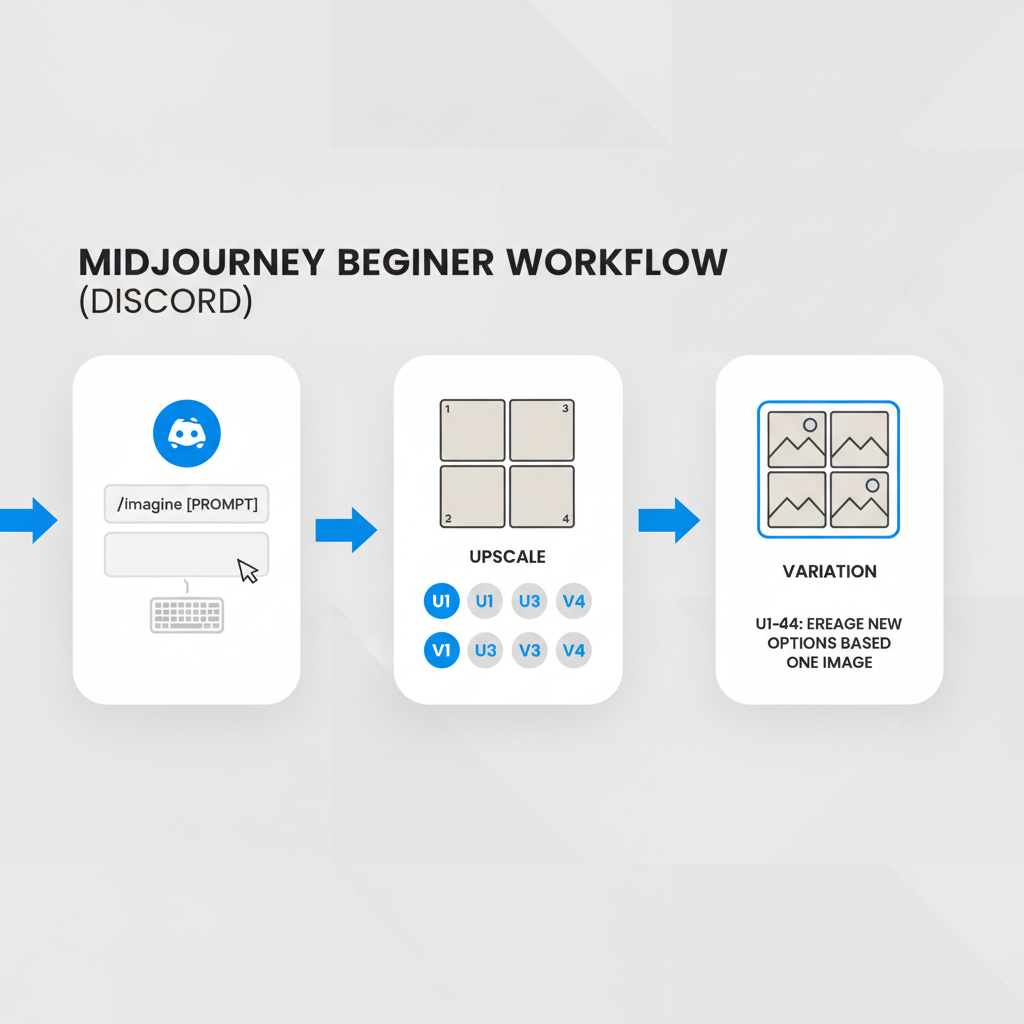
The core command is /imagine. You type it, add your prompt, and Midjourney generates a 2x2 grid.
Example prompt (copy/paste)
- /imagine prompt: a modern home office workspace, morning natural light, clean desk, laptop and notebook, minimal style, realistic photo, 35mm lens, soft shadows
Then you’ll see buttons like U1–U4 (upscale) and V1–V4 (variations). Upscale means “make this one bigger and more detailed.” Variations means “stay close to this but try new versions.”
If you’re learning how to use midjourney for beginners, treat the first few sessions like sketching, generate, pick a direction, refine, repeat.
Prompting basics that stop “random results”
Most “Midjourney is unpredictable” complaints come from prompts that leave too much open. Your job is to remove ambiguity, but only where it matters.
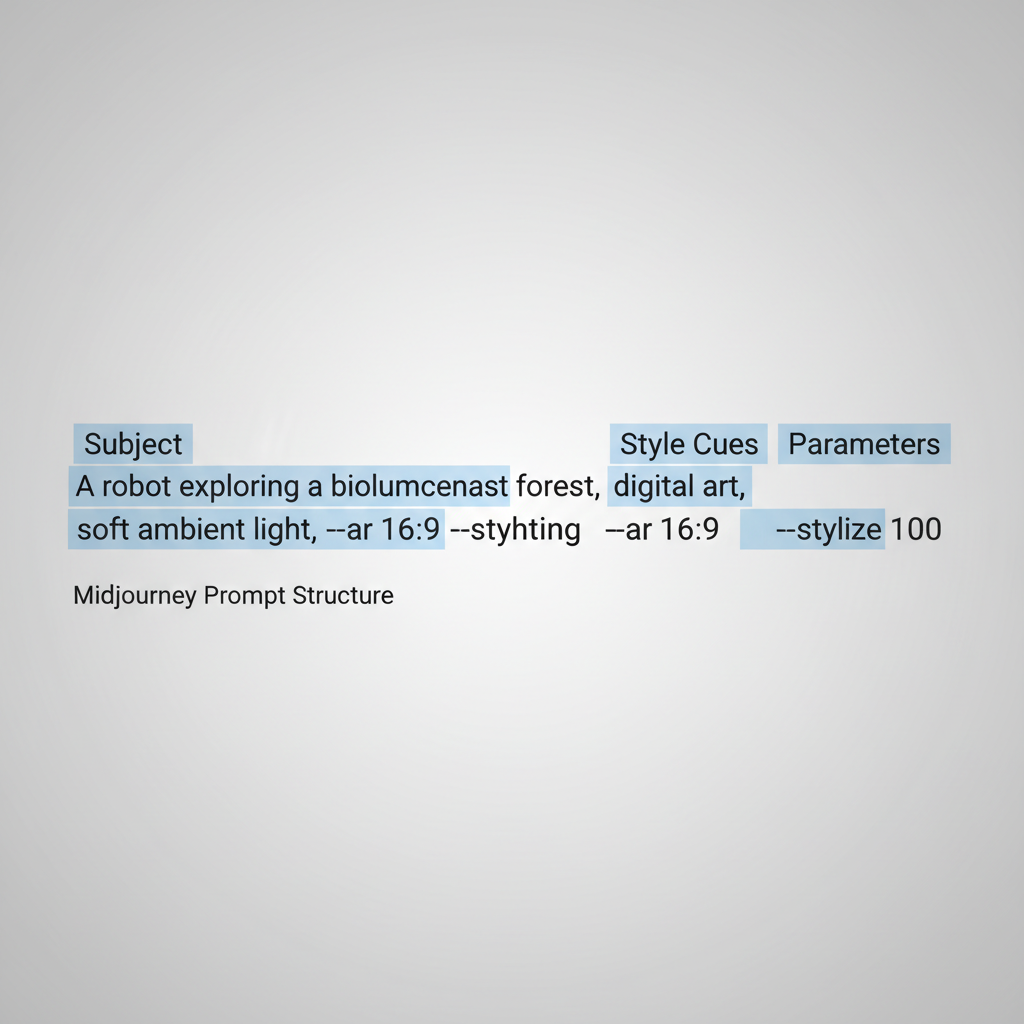
A simple prompt structure that works
- Subject: who or what is in the image
- Context: where it is, what’s happening
- Style: photo, illustration, 3D render, poster, etc.
- Composition: close-up, wide shot, top-down, centered
- Lighting + color: soft light, studio light, warm tones
- Quality cues: high detail, sharp focus, realistic texture
Three beginner-friendly prompt patterns
- Product-style: “minimal product photo of [object], white background, soft studio lighting, sharp focus”
- Brand moodboard: “moodboard collage for [brand vibe], muted palette, modern typography feel, editorial style”
- Scene concept: “[subject] in [place], [time of day], [camera angle], [style], [lighting]”
Key point: Don’t stack ten styles at once. “Cyberpunk + watercolor + Pixar + oil painting” often creates mush. Pick one main style, then one supporting cue.
Parameters beginners should actually use (with a quick table)
Midjourney parameters help control aspect ratio, stylization, and variation. You can add them to the end of a prompt.
| Parameter | What it does | Beginner use-case | Example |
|---|---|---|---|
| --ar | Aspect ratio | Match your target format | --ar 16:9 |
| --stylize | How “artistic” Midjourney gets | Lower for literal, higher for expressive | --stylize 100 |
| --chaos | How varied results are | Use low values while learning | --chaos 5 |
| --seed | Recreate a similar starting point | Keep a style consistent | --seed 1234 |
If you’re figuring out how to use midjourney for beginners for social posts, --ar 4:5 and --ar 1:1 are practical defaults. For YouTube thumbnails or website hero images, --ar 16:9 tends to fit better.
A practical workflow: from “cool image” to usable asset
Pretty outputs are easy. Usable outputs take a little process, especially if you need consistency across a set.
Step-by-step workflow you can repeat
- Start broad: generate 2–3 grids with a clear subject and style
- Pick one direction: upscale the best candidate
- Lock the frame: keep the same aspect ratio across iterations
- Refine details: rewrite prompt to fix one thing at a time (lighting, background, outfit, mood)
- Create a mini set: use variations, then keep the closest 3–5 images
This “one change per iteration” mindset saves time. Many beginners rewrite everything each time, then wonder why results drift.
One prompt template for consistent series
- /imagine prompt: [same character/subject description], [same environment], [same style], [same lighting], [new action or angle], high detail, realistic photo --ar 4:5 --stylize 100 --chaos 5
Common mistakes (and what to do instead)
These are the issues that waste the most hours, mostly because they feel “small” until you see the pattern.
- Mistake: writing vague prompts like “make it look nice”
Do this: name the style and lighting you want, even if it’s basic - Mistake: asking for text-heavy posters or perfect typography
Do this: generate the background in Midjourney, add text later in Canva/Figma/Photoshop - Mistake: changing five variables at once
Do this: fix composition first, then color, then micro-details - Mistake: chasing “hyperrealistic” for everything
Do this: match the output style to the channel, sometimes a clean illustration converts better
Also, if you want a specific person or brand mascot to stay consistent, many cases require advanced techniques beyond beginner prompting. You can still do a lot with careful description and steady parameters, just keep expectations realistic.
Safety, rights, and when to ask for help
Midjourney is fun, but it’s still a creative tool with real-world constraints. According to the U.S. Copyright Office, copyright and AI-generated content can be nuanced, so if you plan to use images commercially at scale, it’s smart to review current guidance and, when needed, consult a qualified professional.
- Avoid risky prompts: trademarked characters, logos, or “in the exact style of” living artists can create avoidable problems
- Keep a simple paper trail: save prompts, seeds, and versions for projects that matter
- When to seek professional help: campaigns with strict brand rules, regulated industries, or anything involving sensitive claims
Conclusion: your next 30 minutes with Midjourney
Learning how to use midjourney for beginners gets easier when you stop aiming for perfection and start aiming for a repeatable loop: prompt, pick, refine, then standardize what worked. You’ll feel progress fast once you keep your prompts specific, your changes small, and your formats consistent.
Action plan: choose one use-case today, like a 16:9 website hero or a 4:5 Instagram post, generate three grids, and refine only lighting and composition until you get a set you’d actually publish.